The no-code editor
It is very easy to create a campaign using the no-code editor. Let me walk you through all the elements so that you can see how Vocads’ no-code editor works.
Left Sidebar Nodes
Let’s start with the global sidebar elements.
When you are on the global sidebar elements you will be able to create new campaigns and access your campaigns page. Clicking on “my campaigns” will enable you to manage your campaigns.
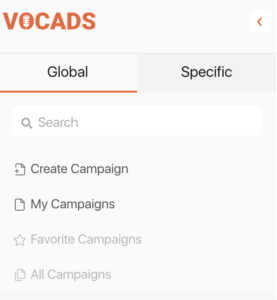
Let’s now have a look at the specific sidebar elements.
Section for questions
First from the top comes a section for questions.
If you want to ask a question to the user, you will use elements from this section. Depending on the answers from the user, the software will direct the user differently through the website. To learn more in depth about questions nodes have a look on this article else watch this video for a quick brief tour.
Section for actions
The actions sections are nodes that requires actions during a camapign.
To learn more in depth about actions nodes have a look on this article else watch this video for a quick brief tour.
Bottom Left Sidebar
Bottom left horizontal sidebar
In the bottom left corner of your screen, you will see a bar with options. Let’s have a deeper look at each of these buttons one by one.

We will start with the bottom left icon with the initials of the name you used for your account. If you click on the top icon you will have the option to access the settings of the widget. Here you will be able to access the code to add the widget to your website and customize it. You will be able to see who is working on the document, who is invited, and invite new members by clicking on “team”, you can access your profile and edit it by clicking on “profile” and finally, you can also logout from here.
Click on the history icon to access the list of actions and the revisions you made.
Click on the “saved templates” icon next to the history icon to access your saved templates.
By clicking on the configuration icon, you can access and change the campaign’s configuration and edit some details.
To preview your work, click on the preview icon. This will take you to your website where you can experience how the campaign you’re working on looks like in the real world, put yourself in your clients’ shoes!
If you click the “save as draft” icon, your work will be saved as a draft. This will not update your website. To update your website you need to click on the “publish” button next to it.
Additional tools
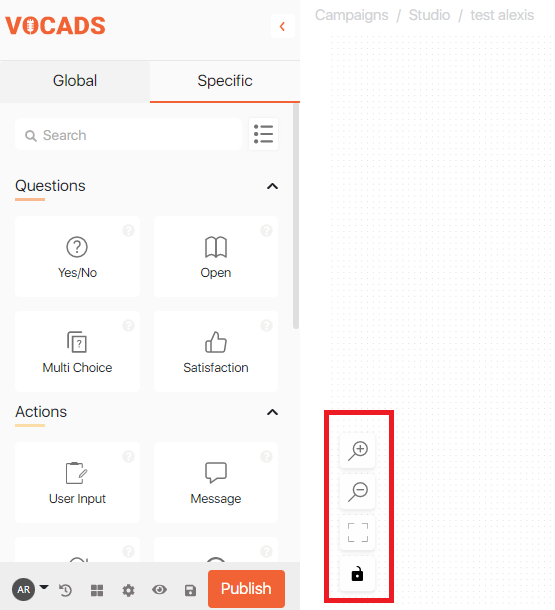
Large campaigns require more room on the platform. To zoom in and out in the studio, simply scroll up or down on your mouse or click the zoom in and zoom out icons at the left bottom corner.
Using the quantize icon beneath the zoom-in and zoom-out buttons, you can accurately align the elements in your flow. Entire flow passages can be locked to prevent accidental misplacement by clicking the lock button, which is located below the quantize button.
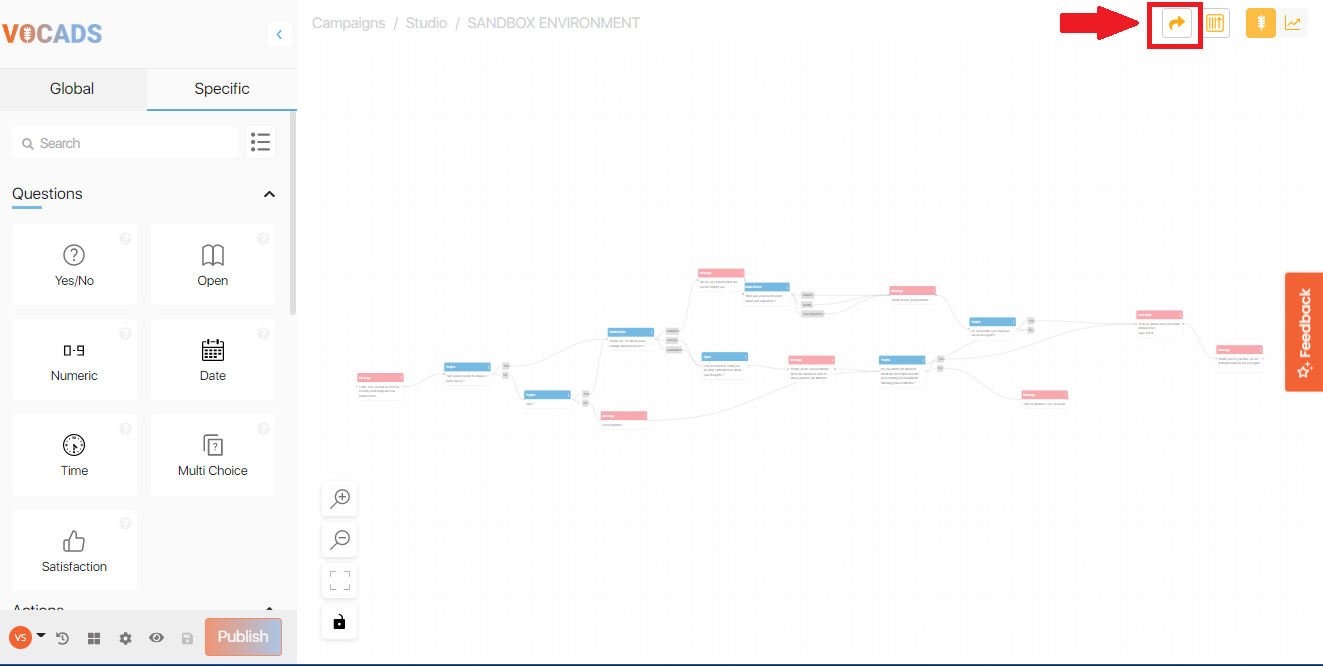
Top right-hand corner tools
The top right-hand corner of your screen contains three small icons:
![]()
- The icon on the left allows you to switch the direction of the campaign flow; you can have it horizontal or vertical.
- The microphone icon on its right allows you to view the campaign
- The inverted arrow icon allows you to share your campaign with your team mates!
- Finally, click on the arrow on the graph on the far right to access the campaigns’ statistics and data reports.
Share your campaigns with your teams
In Vocads’ latest update, you can now share your campaigns amongst your team members!
In order to do that, follow these steps.
- In your campaign, you would find an inverted arrow icon on the top right corner of the editor
- As you click that, you would find a pop-up appear like this
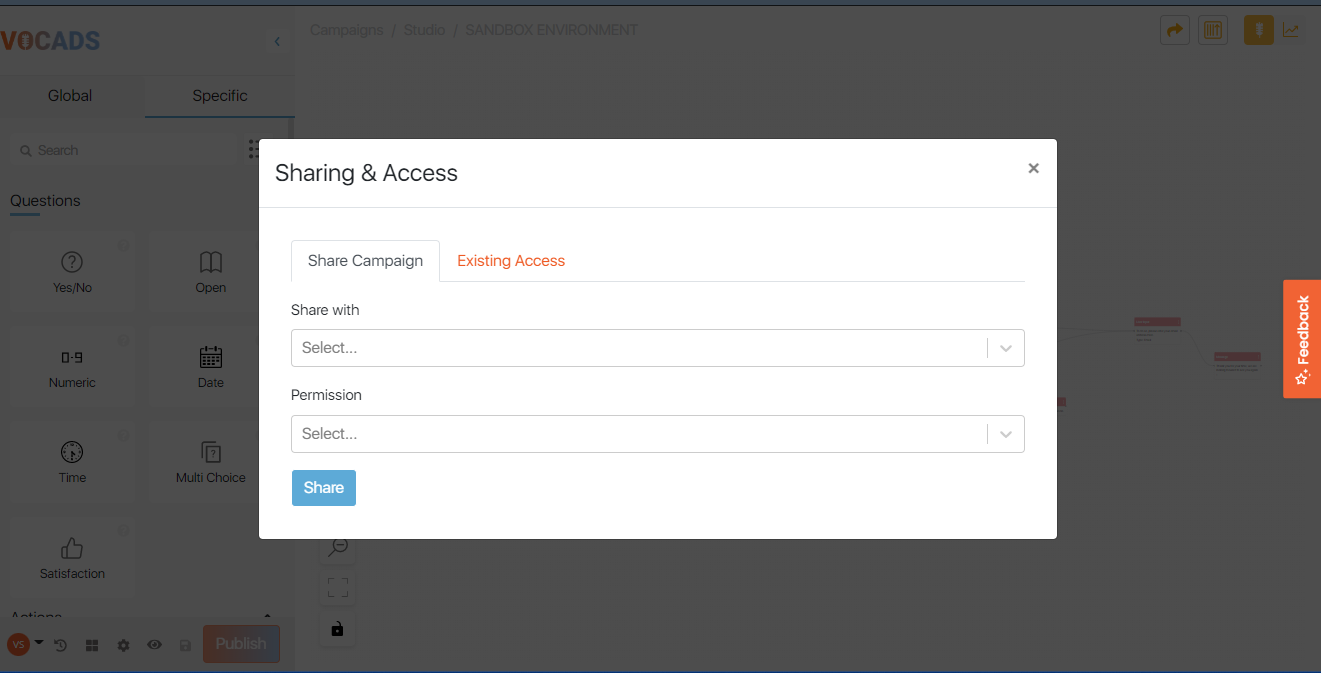
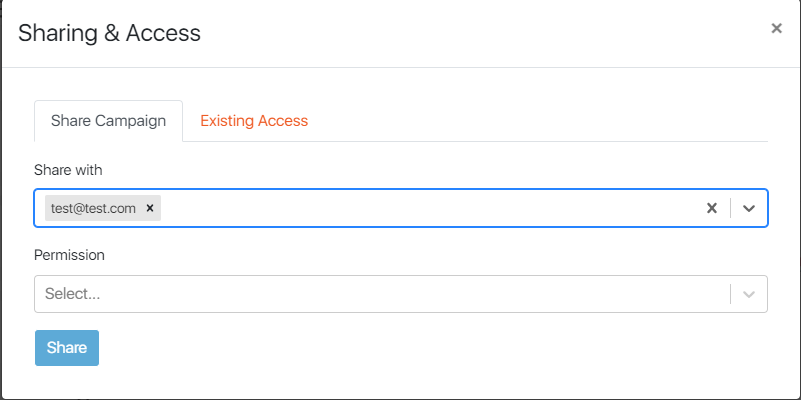
- In the pop-up, you would find two tabs. To provide access to your teammate, enter their email address in the “Share with” field
- Click the permission dropdown to specify permissions to your teammate.
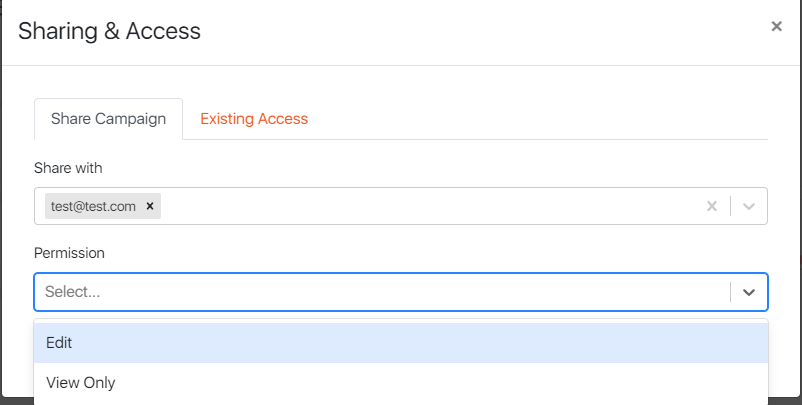
Vocads have two levels of permissions you could provide to your teammate
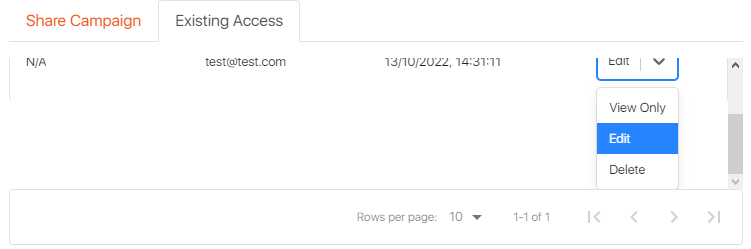
- View Only – Provide access where your teammate can only view your campaign but cannot edit or make changes to the campaign.
- Edit – Provide access where your teammate can view and edit the campaign.
As you click share, your teammate would receive an email where it prompts them to click the invite link to access your campaign.
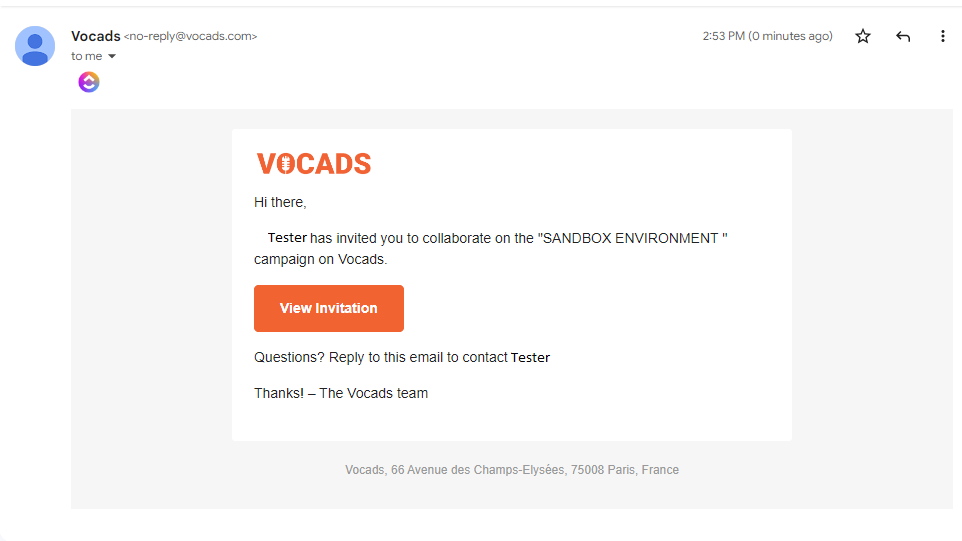
And that’s it! Your teammate can now work and help your campaign become better!!
Managing members in your campaign
Once you have provided a lot of teammates access to your campaign, you can edit the permissions your team has when they’re working on your campaign.
Here’s how you manage your team’s access!
- As the share campaign pop-up opens up, click on Existing access and you would find the team management section.
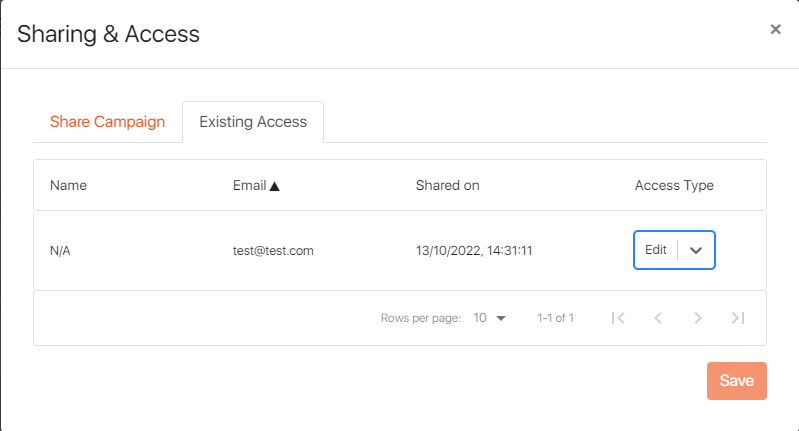
On this page, you would find the list of members who already have access to your campaigns with the time stamp on the day you provided access to them.
- Under Access Type, you would find the drop-down menu where you would be able to edit the level of access your teammate has.
- Once you have made the necessary changes hit Save and you’re done!
And voila! It’s as simple as that!
If you need anything else, feel free to contact us!