Summary
This tutorial shows you how to get started and become familiar with Vocads’ editor. In this tutorial, you will learn how to log in, select a stage, and augment your website with Vocads.
Introduction
 Hello there! Today, I will show you how to log in and get started with the Vocads editor.
The Vocads editor is our online platform where you create AI voice conversational flows for your website. They will help you increase lead conversions by offering an interactive voice experience to your visitors.
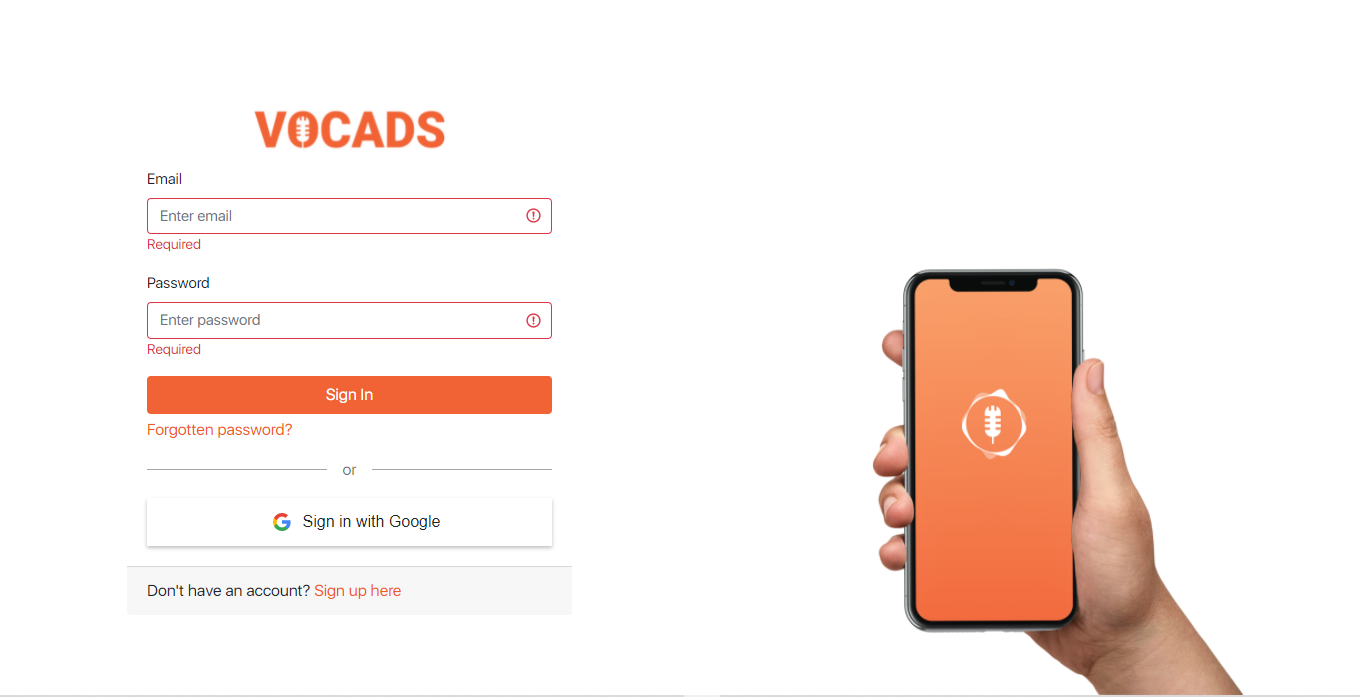
Our platform allows you to sign up and login in two ways: either natively using your email address and password, or directly with a Google account. I will be logging in with my Google account, but you can do whatever suits you better.
Campaigns
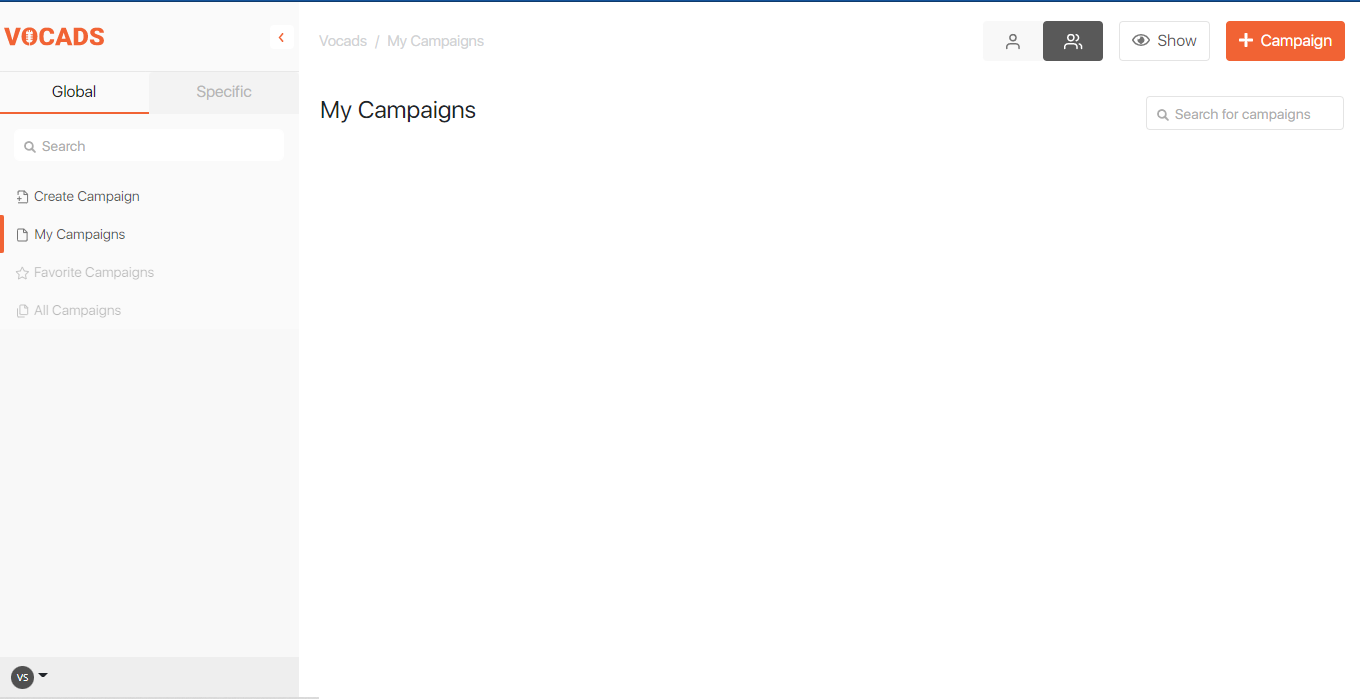
Once logged in, you land on your campaign list. This is your central hub for editing and managing campaigns. This page lets you create, edit, and delete campaigns. You can also choose some campaigns to be your favorite and much more.
You can create a new campaign by clicking the “ + Campaign” button in the upper right corner of the editor. After clicking the button, you will see this popup appear:
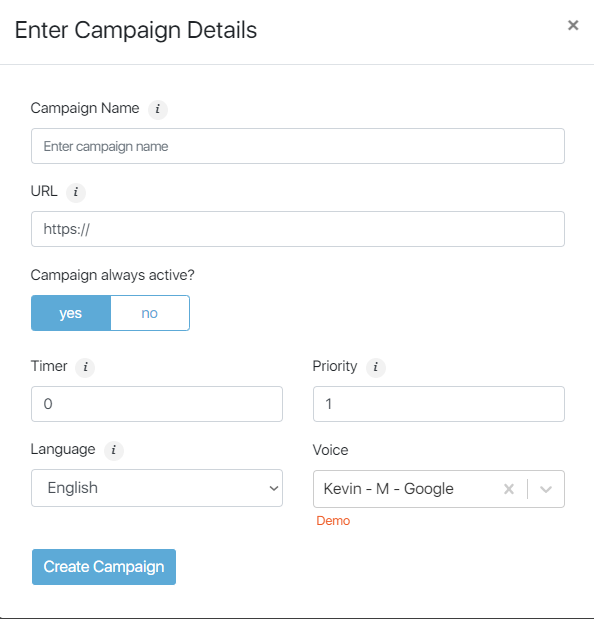
This pop-up will help us easily create a new campaign from very few information.
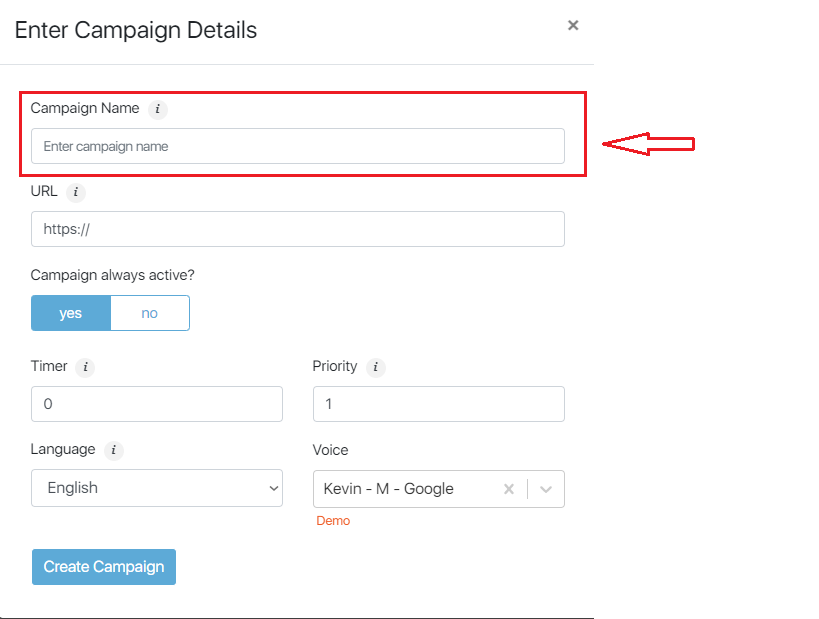
This box is where you put the name of your campaign. This name may be based on your product or your company name. The choice is yours!
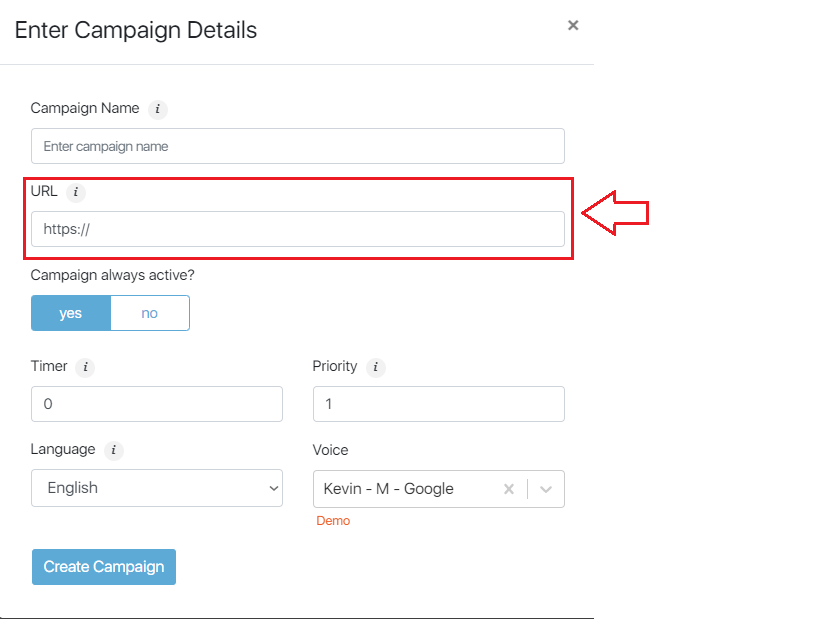
 In the URL section. The URL for the site where the campaign is going to be implemented is needed.
Keep in mind you cannot create multiple campaigns with the same website. If necessary, you can create campaigns for different web pages separately if desired.
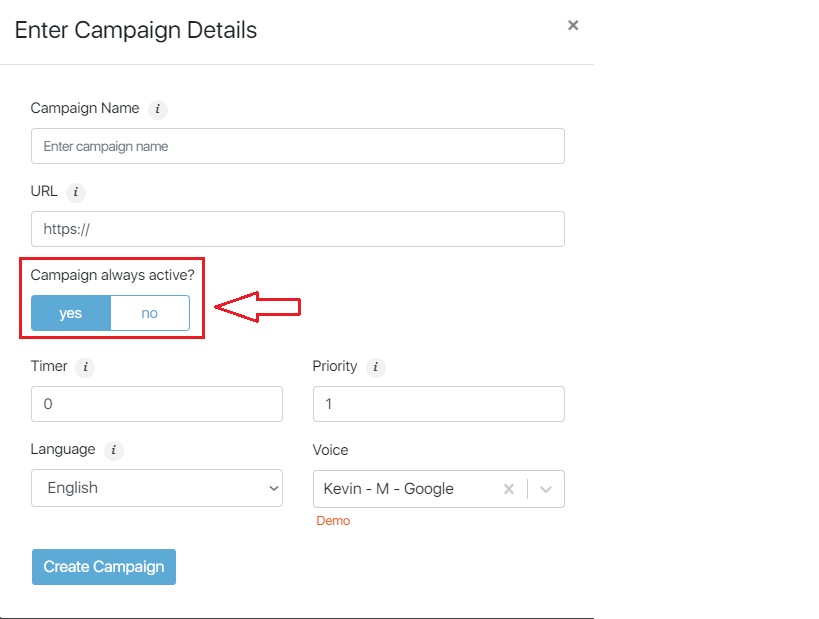
Next, we come across the campaign activity option. You can set up a campaign to run at all times or only during a specified period.
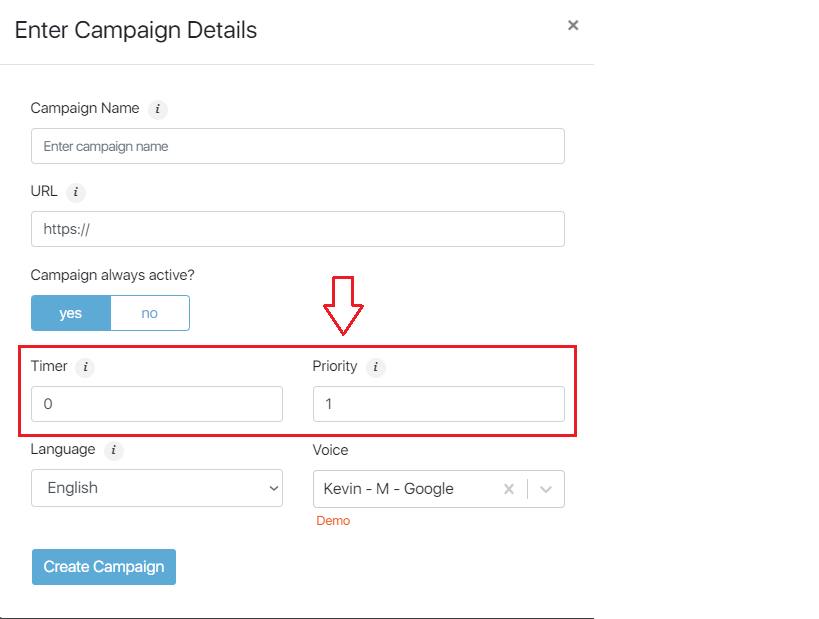
Next comes the timer section in which you can specify when you wish this campaign to begin after users land on your page (in seconds). You can set the campaign timer to 0 if you want it to run immediately upon visitor arrival or a few seconds delay, depending on the site.
In the case of many campaigns running on the website, the priority section allows you to determine a campaign’s priority. As the number of campaigns present on the website impacts this section, you should determine which is more important and which is not.
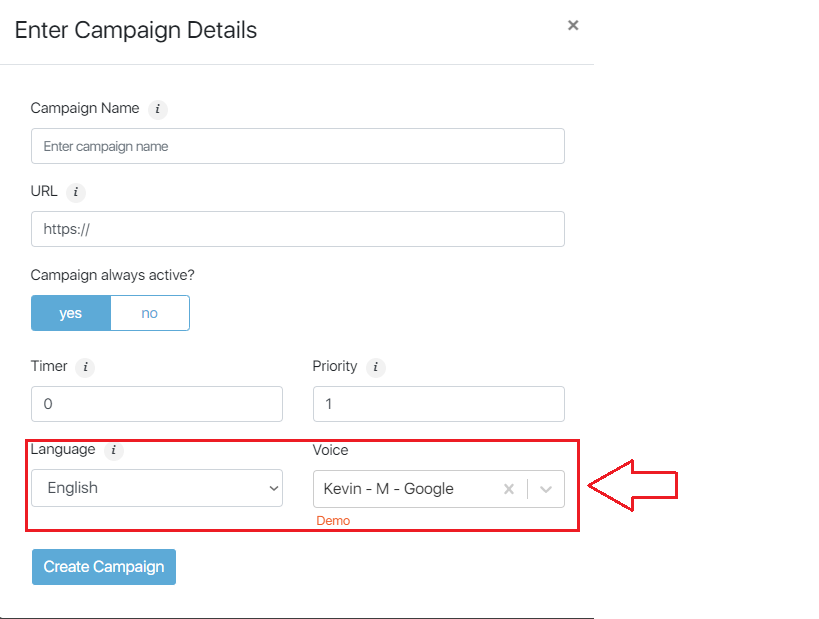
In the language section, you can choose the language in which you want to run your campaign. You should also be aware that this also sets the language of the editor interface for this campaign.
You can also select what kind of voice would you like for your campaign! The voices are provided by both Google and Acapela
Once you are happy with your campaign settings, just hit “Create Campaign” and your campaign will be all set! You will land on the editor where the real magic happens.
You can watch our video on how to create a campaign.
In the campaign editor
Once you click “create a campaign,” you will be directed to this page.
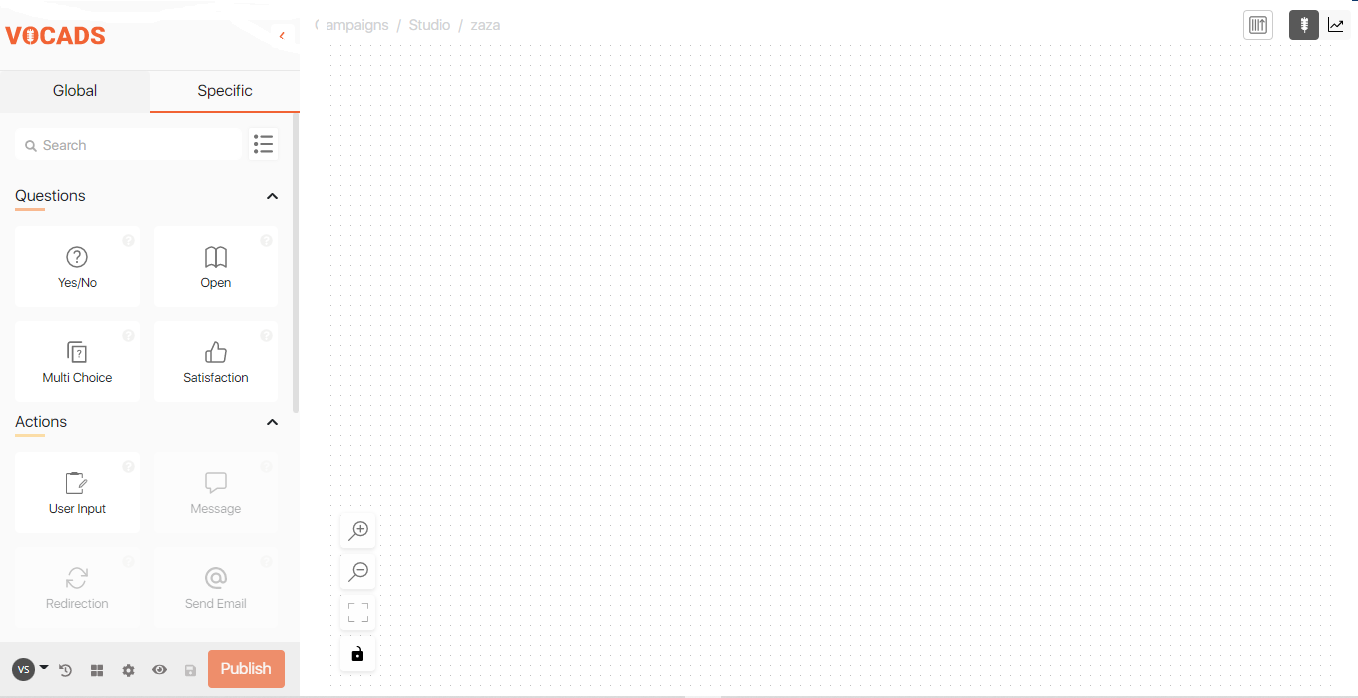
The page you see right now is split between the elements library on the left and the canvas covering most of the screen on the right. This is where you can edit your campaign: simply drag elements from the library to the canvas and connect them together to create a conversational flow. Elements are categorized by usage: asking questions, taking action, and advertising.
Click here to explore all the elements in detail
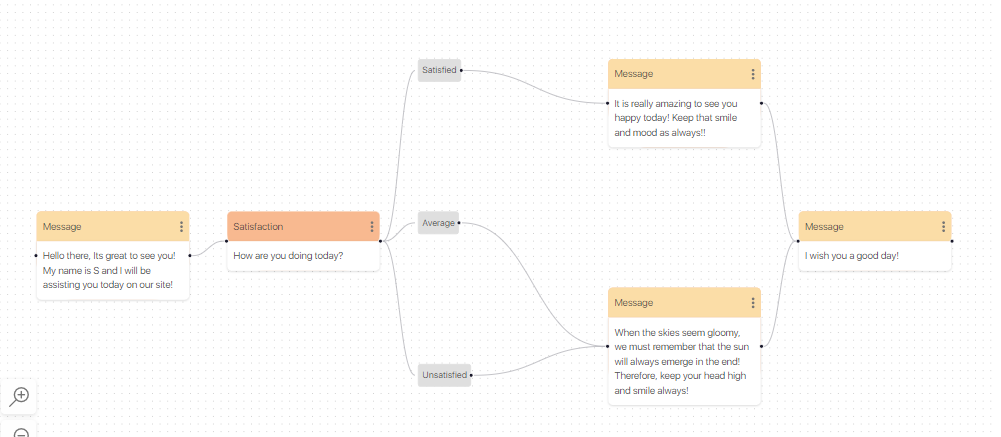
Let’s do a simple campaign that lets UNI be a little more interactive with us.
Using our no code editor makes it very easy to create AI-powered voice-based chatbots. It lets you create a natural conversational flow, free from complications and more.
Now that we have created our small campaign, save it and deploy it online by clicking on the “Publish” button on the left bottom panel at the corner of the screen. If you only want to save your work without launching the campaign on your site, simply click the “Save as a draft” button.
To learn more about the bottom panel, click here
Online campaign implementation
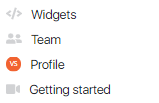
Once our flow has been saved, we are ready to launch the campaign live on your website. You can access this by clicking on your initials at the bottom left of the screen.
After clicking on Widgets, you will see a new window appear where you can control important aspects of the campaign such as its activity, widget customization, the implementation of widgets on your website, etc.
You will see a new window after clicking on Widgets where you can control the important aspects of the campaign, such as the campaign activity, the widget customization, the implementation of widgets on your website, etc.
We’re almost there! Once you are happy with all your settings, go back to the campaign list and click on “Get setup instructions” on the domain of your campaign.
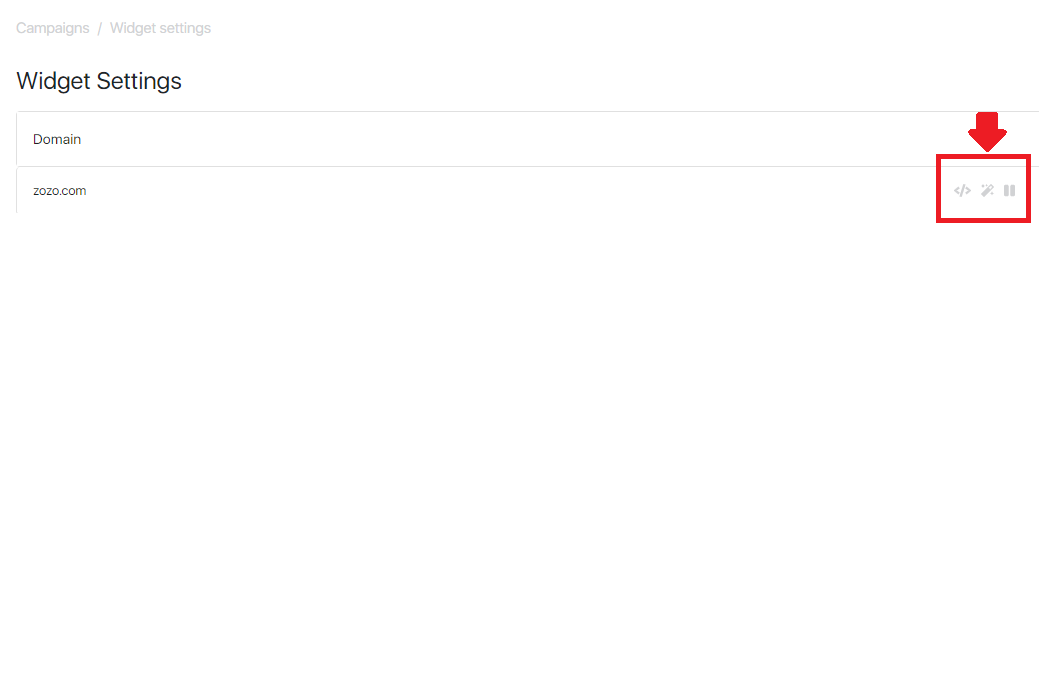
Once you have selected the icon. A pop-up window will appear with a script and the necessary instructions required to broadcast your campaign on your website.
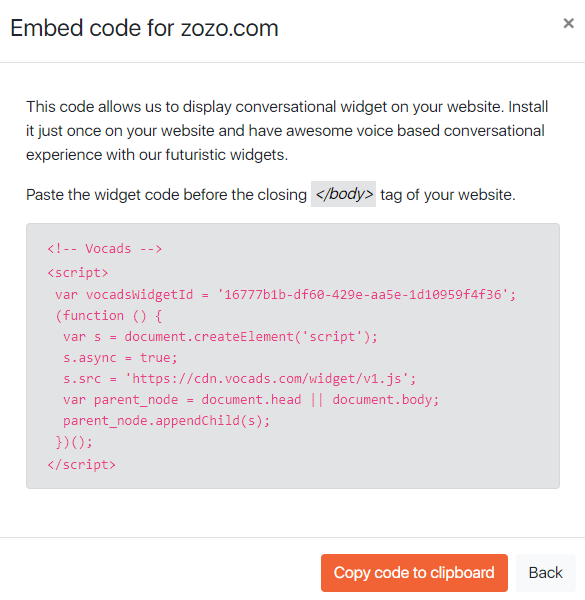
You can watch our video on how to embed campaigns on your site
Upon completion of the setup process, your campaign will be live on your website and you will be able to control and edit it using our platform. You’ve just unlocked a whole new dimension for your user experience, congratulations!
Well I hope this helped you provide an overview of our platform! We’ll see you next time!